
When it comes to nail art there are few things I am unwilling to try. Perhaps the only exception is water marbling. A technique that while popular among many, and when execute well--can look quite cool, it is just something I cannot seem to get on board with. When it first gained momentum a few years ago, I tried it out...and failed miserably. Not only did I make a mess, but my nails looked horrible. In my opinion there was far too much work involved in prep, execution, and cleanup for the resulting look. I could have tried again, I suppose, but I guess I just wasn't that keen on the concept...until now. I came across a picture of these stunning turquoise stone nails on Instagram one day and fell in love. After doing some digging later on, I discovered that part of the technique to creating them requires using a variation on the water marbling technique involving hairspray. I loved the look so much, and it was different enough to the usual water marbling design that I figured it was worth a try. The following is a step-by-step on how to get these fabulous turquoise stone inspired nails. Enjoy!
 |
| Look I cut my nails! (so short) |
For this design you will need:
- Nail Foundation (optional)
- Basecoat (optional)
- Turquoise Lacquer
- Metallic/Glitter Silver/Gold Lacquer
- Black Lacquer
- Topcoat
- Small Piece of Saran Wrap
- Paper Towel
- A Few Toothpicks
- Scotch Tape
- Hairspray
- Cup of Lukewarm Tap Water
- Paint one coat of nail strengthener. I used butter LONDON's Horse Power Nail Foundation.
- Paint a coat of nail foundation. I used butter LONDON's Nail Foundation's Flawless Basecoat.
- Paint two coats of your turquoise base color. I used China Glaze's For Audrey--a beautiful Tiffany blue. Allow this to completely dry before moving on to the next step (You can even paint one coat of top coat to speed up the process if you are short on time).

- As this can get messy, I recommend using scotch tape to tape around your cuticle and the sides of your finger on each nail at this point in the process. It takes a bit of time and looks a bit ridiculous, but it it worth it in the saved clean up time later!

- I wanted to make the look more diminutional, so I added the effect of veins of gold using a saran wrap technique.
- Bunch up a piece of saran wrap into a ball.
- Using a gold (or silver) polish with a slight shimmer or glitter paint a portion of the saran wrap. I used butter LONDON's shimmery gold, The Full Monty.

- Dab the saran wrap onto some paper towel to remove excess polish.
- Lightly dab painted saran wrap onto each nail in random spots to create subtle veins of color.

- *This phase of the process has to be done efficiently in order for it to look good, so work quickly* Fill a cup with lukewarm water and place in front of you with your black polish and hairspray nearby.
- Place one drop of your black nail polish into the water, and as it spreads, spray it with hairspray allowing the polish to separate into the desired veins and bubbles. If you aren't satisfied with the look of the veins, you may have to use a toothpick to remove it and redo this step until you are satisfied with the look.


- Dip your finger in the into the water, positioning it where you want it to get the black on the nail. Using the toothpick, swipe around the nail removing the excess polish from the surface of the water before lifting nail out of the water.
- If you are satisfied with the look of the design, let it dry then remove the scotch tape, paint over it with a coat of SV Topcoat, and clean up any excess polish with acetone remover.

- Voila! Fabulous turquoise nails!
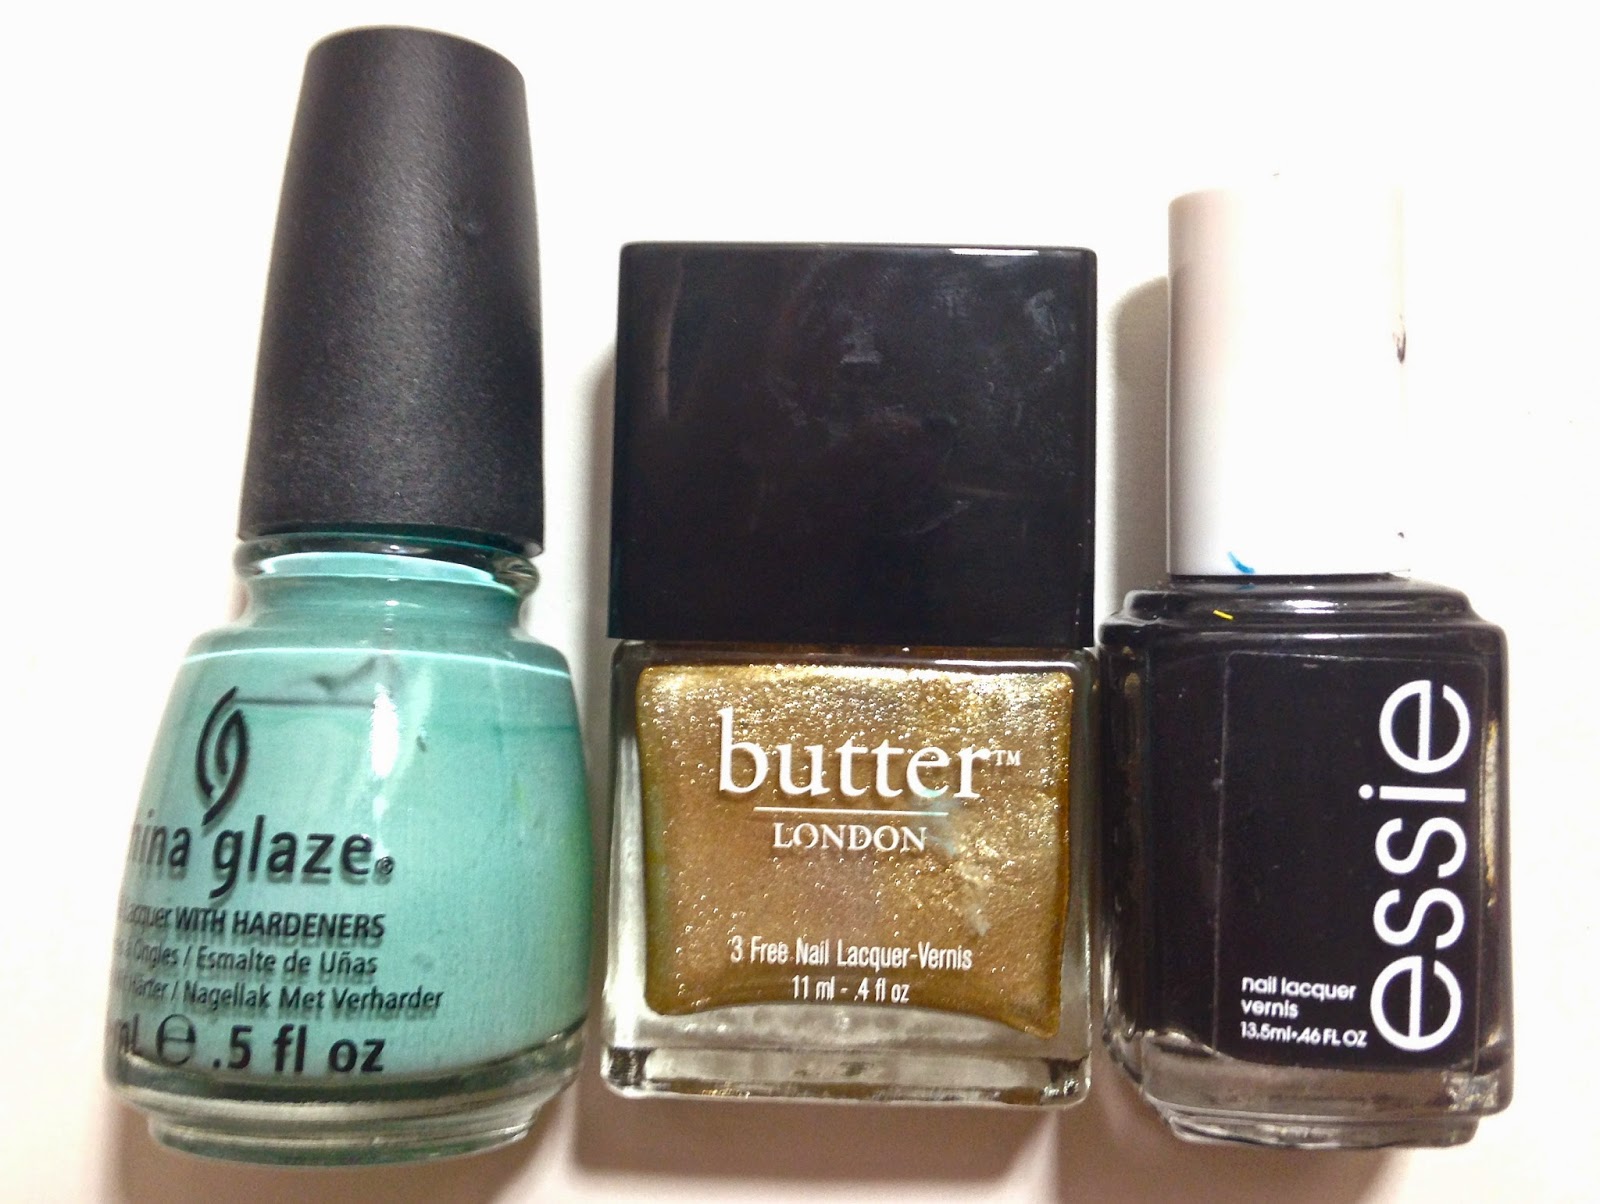 |
| For Audrey The Full Monty Licorice |


I'm so happy I took the plunge (literally) and tried this hairspray nail art to get this turquoise effect. I love how they turned out, and have got nothing but compliments! Though the actual water marbling/hairspray portion of the design was a bit tedious and frustrating (especially when I had to redo a few nails that didn't turn out up to my standards) I am really happy with the overall look.
What do you think?


I love this! Thank you for posting this. I am definitely going to try this out. Must share via Facebook so my gals can revel with me. :D
ReplyDelete