
Varnish Vixen lives!
Hello to my old followers, and to my new. So sorry for the long wait, but we're back and here to stay. This post and the next few are catch-me-ups from the last few months, so while the trends and reviews may be a little late I wanted to include them all the same--back to the new stuff real soon!
This look hopefully looks "out of this world" to you as it was intended. I designed this for my dorm's much anticipated spring dance of the exact theme. Being an RA I had the privilege of chaperoning and the lack of time/interest in developing a costume so opted for comfort in black yoga pants and a top and went as a black hole. At least I had the decency to do my nails for the occasion right?
I previously did galaxy nails back when I was living in London (check out the tutorial here) but I found a different and honestly easier method that I applied for this occasion. Here is my modified tutorial for galaxy nails!

- Start with one coat of nail foundation. As usual, I started with a coat of butter LODNON Nail Foundation Flawless Basecoat.
- Apply two coats of a high glitter, black base coat. I chose butter LONDON's The Black Knight because the pink, blue, purple, and silver glitter stand out great against the black--like stars!
- Paint some white nail polish, I used O.P.I.'s Alpine Snow, on the corner of a makeup brush so it is fairly saturated. Feel free to test dab it a little on some paper to get a sponging look you are pleased with.
- Lightly dab the white on each nail in varying clusters using the sponge.
- On a different corner of the sponge paint an accent color for the galaxy. I chose a royal purple, butter LONDON's HRH, to compliment the glitter in the basecoat.
- Dab the accent color sparingly overtop the white on each nail either in select spots or over the majority of the white--it's up to you.
- Using a detail brush or toothpick and your white polish, paint dots sparingly on each nail to distinguish some bigger stars.
- To add a little something extra to the galaxy paint overtop of it with a multicolored glitter flake polish. I used China Glaze's Luxe and Lush from the Hunger Games Collection.
- After waiting about 5 minutes, paint one coat of topcoat over each nail and let dry for about 20 minutes. As always, I used Seche Vite topcoat to seal the design in a glossy finish.
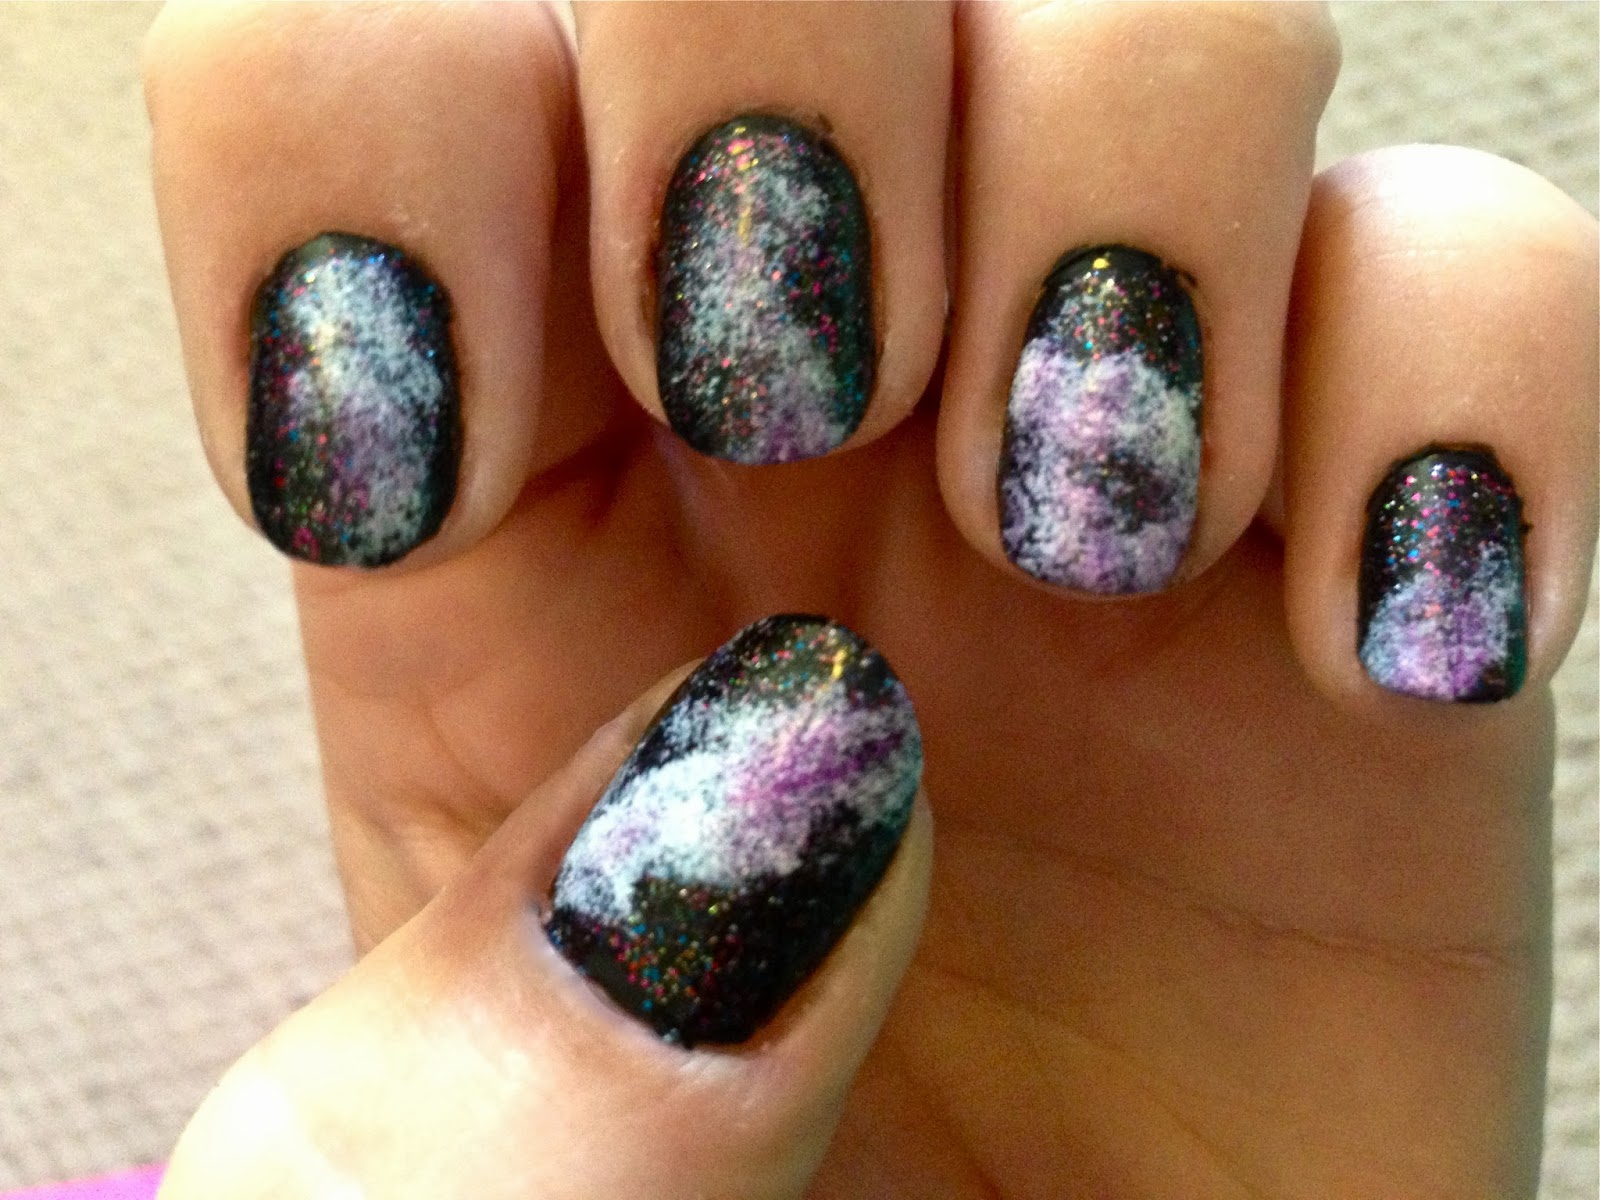

I really liked the look of this design--it felt much much more in synch with the traditional galaxy pattern seen on clothing and accessories at the time. Overall, it's a pretty easy design to pull off and offers a lot of design flexibility with colors, topcoats and style. Have you tried galaxy nails? What do you think?


 |
| The Black Knight Alpine Snow HRH Luxe and Luxe and Lush |


0 comments:
Post a Comment